Camshaft Bearing Cap Removal Tool for BMW N51 N52, as OEM 114460
-
Code:8794
-
Weight:3.990 Kgs
Overview:
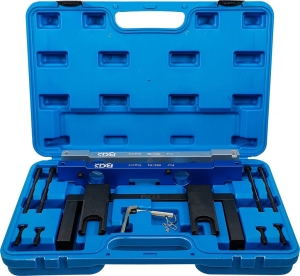
✔ Professional camshaft bearing cap service tool
✔ Designed for BMW N51 and N52 engines
✔ Required for camshaft replacement procedures
✔ Enables controlled removal and installation of exhaust camshaft bearing ledge
✔ Used in combination with tool Item No. 62619
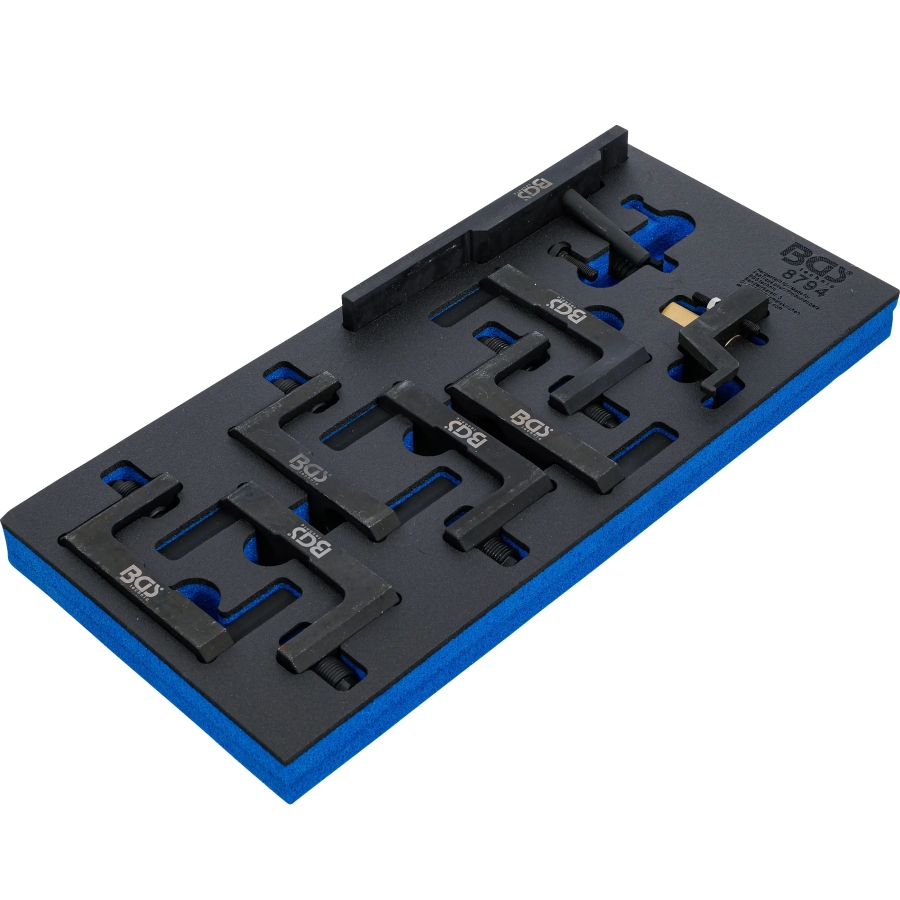
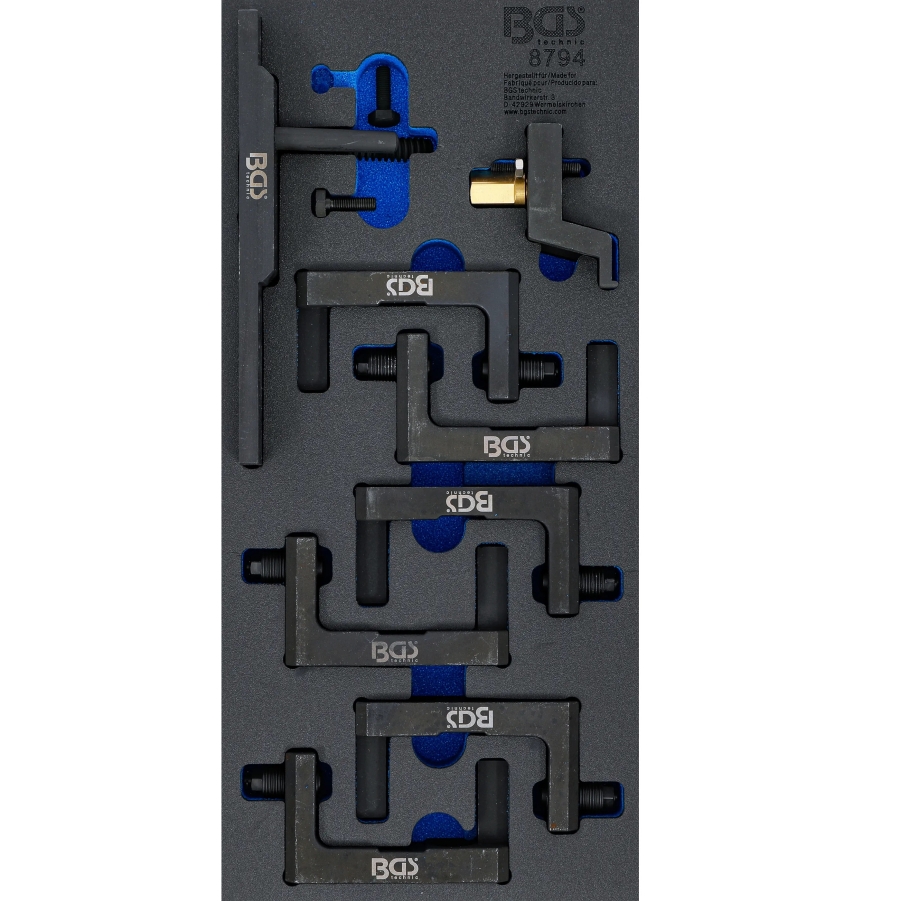
✔ Includes pressing tool, screws, and pressure pieces
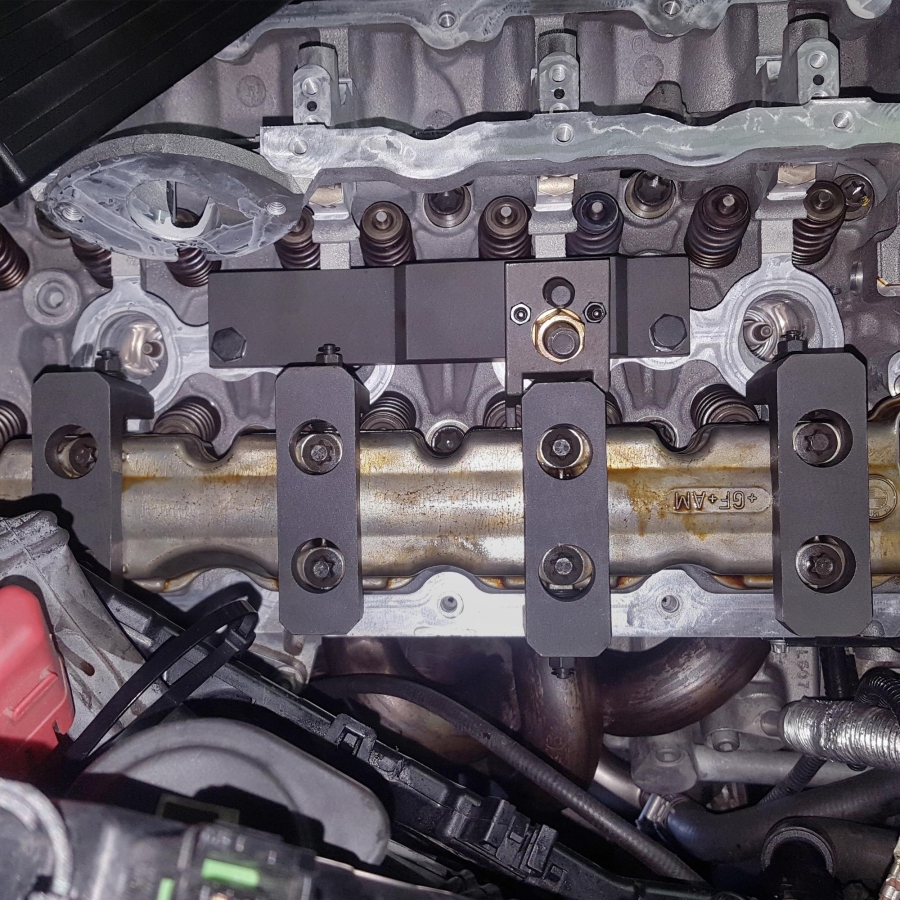

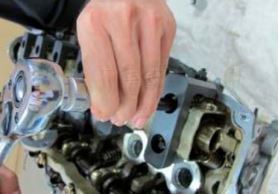
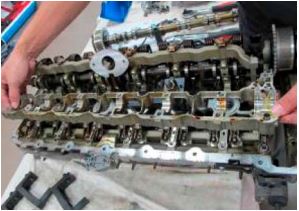
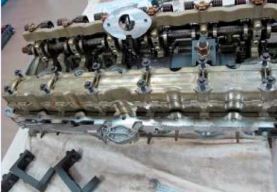
This specialized tool is designed for the removal and installation of the camshaft bearing cap (bearing ledge) on BMW N51 and N52 engines.
It is essential when replacing the camshaft, allowing controlled pressing and positioning of the exhaust camshaft bearing assembly without damaging surrounding components.
Compatibility
Suitable for:
- BMW N51 engines
- BMW N52 engines
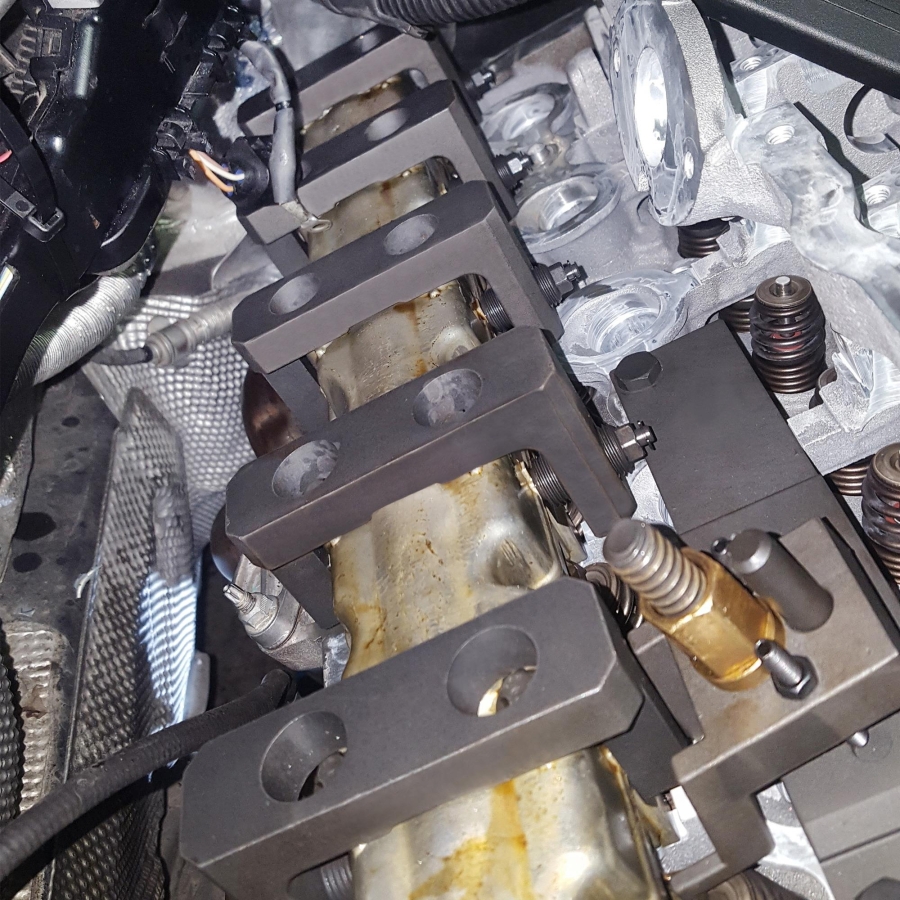
Design & Operation
- Enables even and controlled pressure distribution during removal/installation
- Prevents distortion of camshaft bearing caps and cylinder head components
- Designed for precise fitment on cylinder 2 during operation
- Must be used in combination with Item No. 62619 for correct procedure
Scope of Delivery
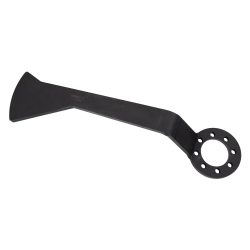
- Pressing tool (for cylinder 2), to be used as OEM 114461
- 2 × M7 screws, to be used as OEM 114462
- 6 × pressure pieces, to be used as OEM 114463
OEM Reference
To be used as:
- BMW as 114460
- BMW as 114461
- BMW as 114462
- BMW as 114463
The OEM reference numbers are provided for identification purposes only. This product is not an original manufacturer tool.
Installation Instructions
This tool is used in combination with tool BGS 62619.
Procedure
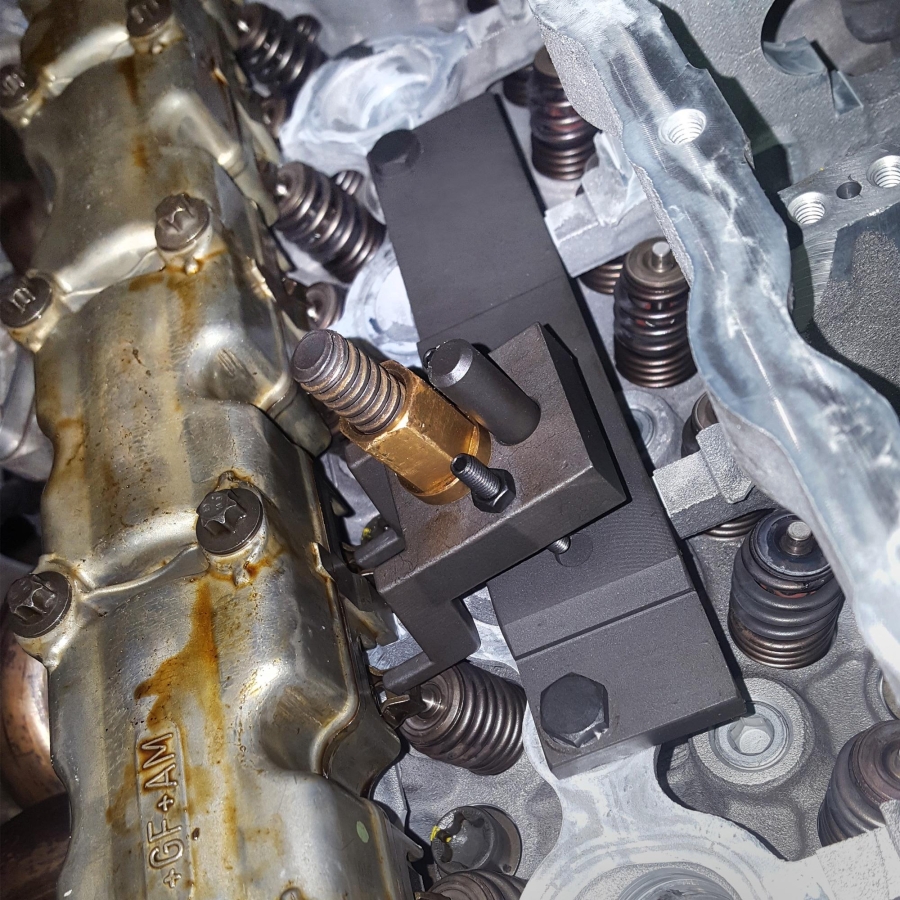
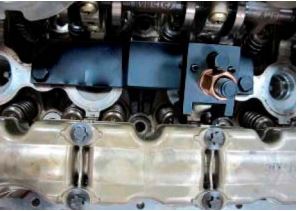
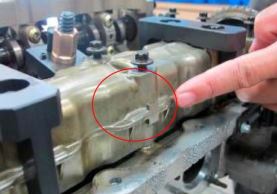
Step 1
Position Tool No. 1 on cylinder 2.
Use Tool No. 1 to tighten bolt No. 2 on cylinder 2.
Compress the second valve spring.
Step 2
Loosen the bolts of the upper exhaust camshaft cover.
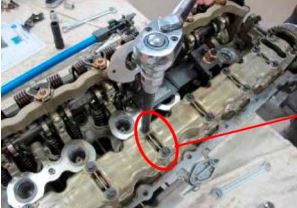
Step 3
Remove both the upper and lower camshaft covers.
Step 4
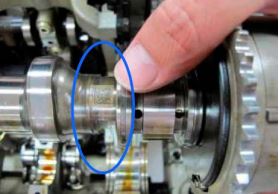
Before installing the exhaust camshaft, ensure that:
- The hydraulic tappets (lifters) are correctly positioned
- The valve spring is properly seated
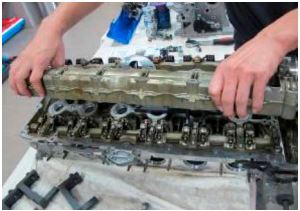
Step 5
After removing all camshaft bearing caps/guides, reinstall the lower camshaft cover in its original position.
Step 6
Reinstall the exhaust camshaft.
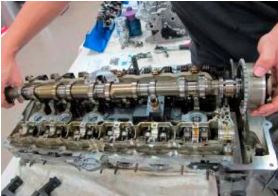
Step 7
Pay special attention during installation:
- The camshaft marking must face upward
- The camshaft must be aligned at a 90° horizontal angle relative to the cylinder
Step 8
Carefully reassemble the upper and lower camshaft covers together.
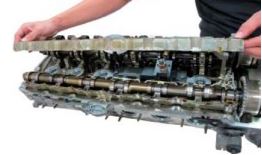
Step 9
Insert the cover bolts and tighten them lightly at first to secure the camshaft in position.
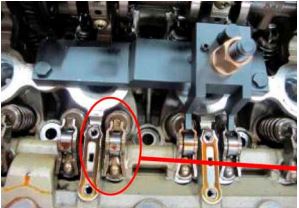
Step 10
Position the pressure screw (Part No. 3) against the contact surface of the upper cover.
Ensure both covers are properly aligned.
Use a torque wrench to tighten the bolts according to the manufacturer’s specifications.
⚠️ Warning: Excessive torque may damage the covers.
Step 11
Using a torque wrench, tighten all bolts of the upper and lower covers according to manufacturer specifications (clockwise direction).
After removing all tools, the installation is complete.